
"NOT a princess!"
This was quickly followed with:
"Maybe a chicken?"
I only know of one person with a chicken costume, and her kids were already using it, so this meant a trip to the halloween store. Nary a chicken to be found, unless you count the headless one in the back by all the bloody stuff. Not gonna fly. We scoured the walls with Norah - princess, slutty princess, spiderman (MOM...Spiderman isn't PINK), preschool-sized nurse (very weird!) and winter princess. We managed to grab the last girly, monster costume, but it was very clear to Norah how fun the boy costumes were compared to the wimpy, sucky girl costumes. In the end, she rocked the monster costume, but chalk up another point for homemade.
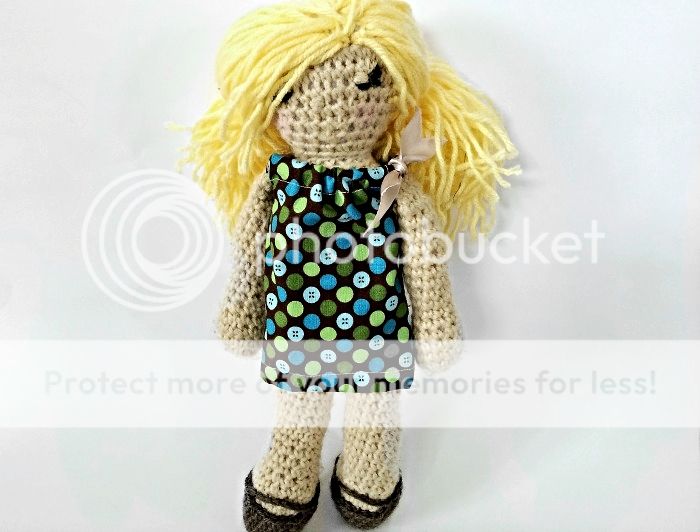
While princesses aren't really her thing, this girl of mine LOVES dolls, and it is the snuggly babies and the soft round, girly bodies that always catch her eye over any Barbie or Bratz Doll. Sticking with my current "stuffy" kick, I worked up a doll for her that she named after our neighbour's baby, Tahlia.

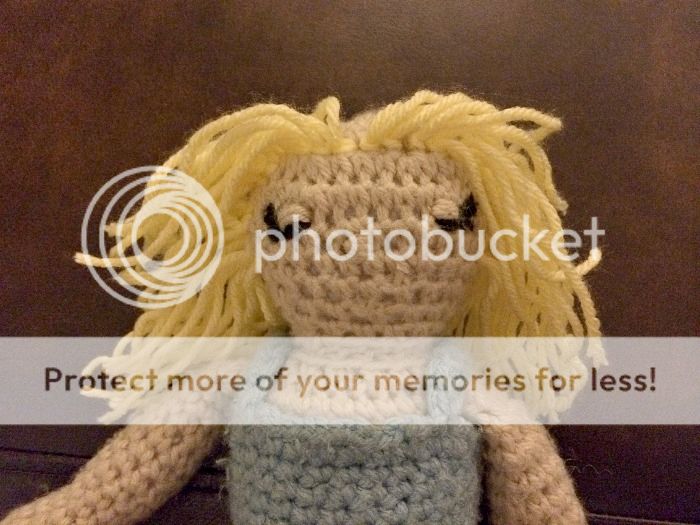
Creepy, yes? The big black holes were staring straight ahead. These eyes needed some lovin' so I added eyelids and worked up a quick dress. I didn't love it, but the dress would have to do for now, the child couldn't wait any longer, she NEEDED this doll.

It didn't take me long to realize that her hair just sucked. It kept shifting and lifting and had awful coverage, exposing her poor, bare head to the harsh, Alberta spring. In retrospect, of course it was sucky. I sewed it onto the part line and only tacked the front and sides down. I loved the wavy effect from the Country Loom yarn, but I cut corners to avoid having to attach individual strands of hair. Off came the sucky hair. Back to work.
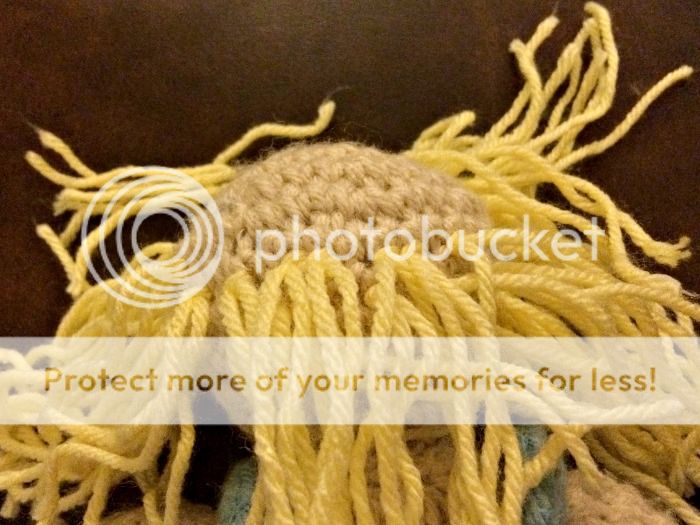
I started this makeover by working up the front and side hairline, a strand of hair in every stitch to avoid ugly gaps and to define an area to fill with yarn plugs. I wish I had started with longer strands of yarn as these wispy front pieces don't quite reach to be tied back. Next time I will start extra long and trim it back. I did switch to longer yarn eventually so it is a bit shaggy. Lesson learned. Call it "layered".
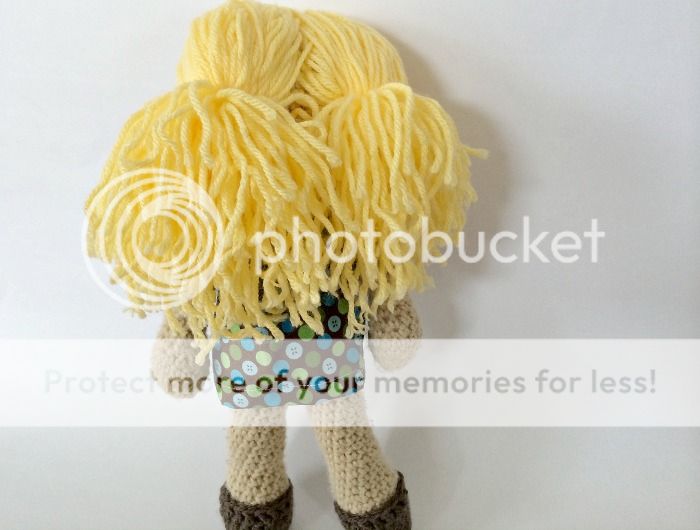
The hair in the back starts 5 rows or so up from her neck seam and is worked in rows moving up to the top of her head. Every second stitch or so is enough for this area, it needs thinner coverage or the hair won't lie smoothly. According to Caleb, this style is a "skullet" - bald on top but long in back. He came SO CLOSE to convincing Norah that I was leaving her doll like this - Cue.the.drama.
The top of her head has a plug in every stitch. No more bald patches or shamefully thin hair!
And a pair of shoes to complete the outfit! These are sewn on because, kids. 'Nuff said.
 |
| Cute little Mary Janes! |
 |
| Full coverage hair plugs! |
The pillowcase dress is from a tutorial by Skip to My Lou. Her pattern is for a much bigger doll but I was able to cut my fabric to fit Tahlia and followed the awesome instructions for putting it together! Even a sewing rookie like myself couldn't mess it up. Transformation complete!
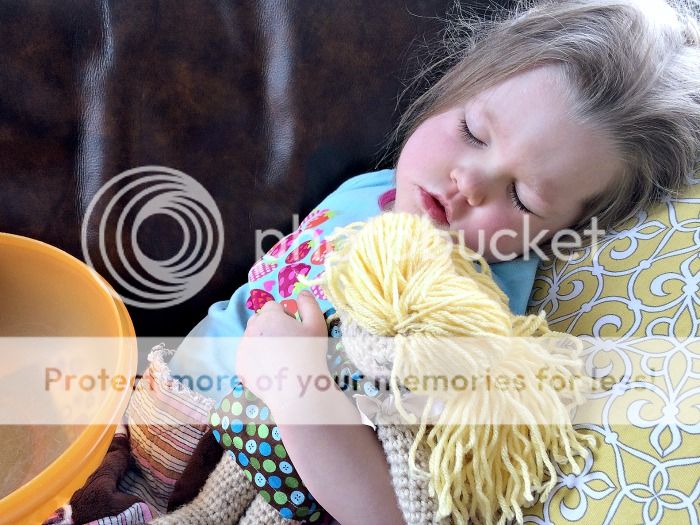
And it looks like this restyle was finished just in time for Tahlia to be put right back to work, cuddling a little sweetie hit hard by another stinking flu.


I love the doll!! you should put everything you make in an album so you can take orders..
ReplyDeleteThanks Mom! Not a terrible idea. Maybe a "Gallery" page or something of that sort.
Delete